After documents are uploaded using any of the Documents to Process Upload Methods, they become accessible in the Documents to Process list. This list provides access to documents that have been imported in to R365. Currently, Documents to Process includes the options to process both AP Invoices and AP Credit Memos.
Processing uploaded files can be done from either Accounting or Smart Ops.
Article Topics
Step 1 - Navigate to the Documents to Process List View
| Accounting | Smart Ops |
- In the Accounts Payable section of the left navigation menu, select Documents to Process.
The Documents to Process page opens to the view that was selected when it was last opened. - If the pages does not open in list view, select the List icon in the top right corner of the page.
The page refreshed to display the Documents to Process list.
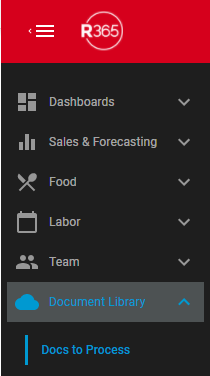
| - In the Document Library section of the left navigation menu, select Docs to Process.
The Documents to Process page opens to the view that was selected when it was last opened. - If the pages does not open in list view, select the List icon in the top right corner of the page.
The page refreshed to display the Documents to Process list.
|

 | 
 |
Back to Top
Step 2 - Review Available Documents
Reviewing Documents Ready For Processing |
|
- In the Actions column of the Documents to Process list, select the Review button for the desired document.
The Draft Transaction side sheet opens. - Review the side sheet to make sure that all fields are entered correctly.
|  |
| Reviewing Past Documents |
|
- Documents that were processed in the last 90 days appear on the Recently Processed tab of the Documents to Process page.
- All processed documents, including documents processed in the last 90 days and older, are accessible from the AP Transactions table.
|  |
Back to Top
Step 3 - Specify Document Type
| List View - New Documents |
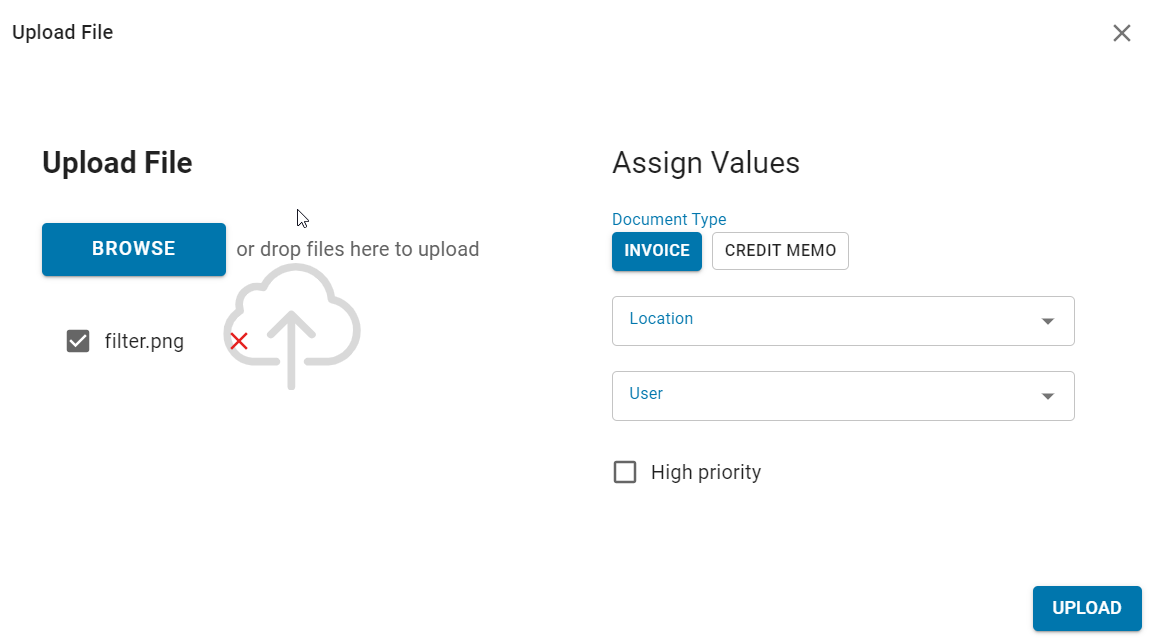
- Select Upload Document.
The Upload File window appears. - Select Assign Values to expand the Assign Values section.
- Choose whether the document is an Invoice or a Credit Memo.
- Enter any additional details for the document and then select Upload.
|  |
| List View - Existing Documents |
- Select the checkbox in the document row.
- Select the Edit icon.
The Bulk Edit window appears. - Choose whether the document is an Invoice or a Credit Memo.
- Update any additional details for the document and then select Update.
| 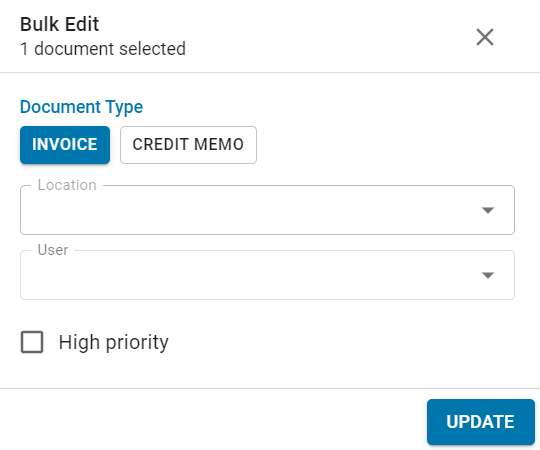 |
| Card View |
- In the document card, select either AP Invoice or Credit Memo to create a document of the selected type.
|  |
Back to Top
Step 4 - Review the Document for a Potential Duplicate Entry
| Accounting (Classic) |
- Review the contents of the document and ensure that it is not a duplicate upload.
- If the file is a suspected duplicate, flag it for additional review by clicking Mark as Archived in the Attachment Viewer or by selecting a document from the document list and choosing Archive from the Edit Selected menu.
- Select the Archive button located above the document list to view duplicates.
- To restore a document to the Documents to Process list, select the Restore button in the document row in the archive.
|
| Smart Ops |
- Review the contents of the document by selecting the file name on the attachment side of the Split View.
- If necessary, remove the attachment by clicking the trash icon
 . . - To attach additional documents, click Documents to Process.
|
Back to Top
Step 5 - Enter the details of the AP Invoice / AP Credit Memo
| Accounting (Classic) |
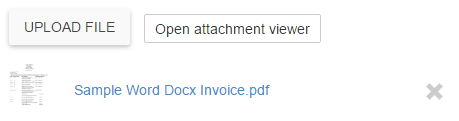
- For PDF documents, use the Attachment Viewer to review the document.
- Enter the transaction details in the form.
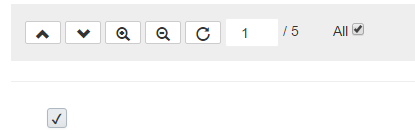
- Select the check boxes on each page or image as it is completed. Doing so attaches the selected files to the AP Transaction when the record is saved.
- Note: For documents with 5 or less pages, the All checkbox is selected by default. Therefore, all pages will be attached to the transaction. The user can elect to uncheck the All checkbox and select each desired page as it is added. For documents with more than 5 pages, the All checkbox is not be selected by default. The user must select the All checkbox or select individual pages as the pages are processed.
|
| Smart Ops |
|
Back to Top
Step 6 - Save & Close or Approve & Close the AP Transaction
| Accounting (Classic) |
- When a transaction is saved or approved, the select pages or images are automatically attached to the AP Transaction as PDF files. When the transaction is closed, the thumbnail images no longer appear in Documents to Process but is available to view in AP Transactions.

- Note: Some documents might contain multiple invoices.
- If the All checkbox is selected when the invoice is saved or approved, the system attaches the full document to the AP invoice and the document is removed from the Documents to Process list.
- If any pages remain unchecked when the invoice is saved or approved, the system includes only the checked pages. The additional pages remain in Documents to Process so that the data-entry process can continue with the remaining pages.
- In the event that any remaining pages do not need to be entered as an AP transactions, select the trash can icon above the document from the Documents to Process list to remove the file from the list of unprocessed documents.
|
| Smart Ops |
- All required field must be completed to enable the Save button.
 - Upon saving, users can Save, Approve, or mark the AP Invoice or Credit Memo as complete.

|
Back to Top